Camp
  • How to Make Perfect Pour-Over Coffee, Anywhere
    Pour-over coffee used to mean loads of kit and a lot of faff. Now it packs into a rucksack – here’s how to brew a proper cup wherever you are.

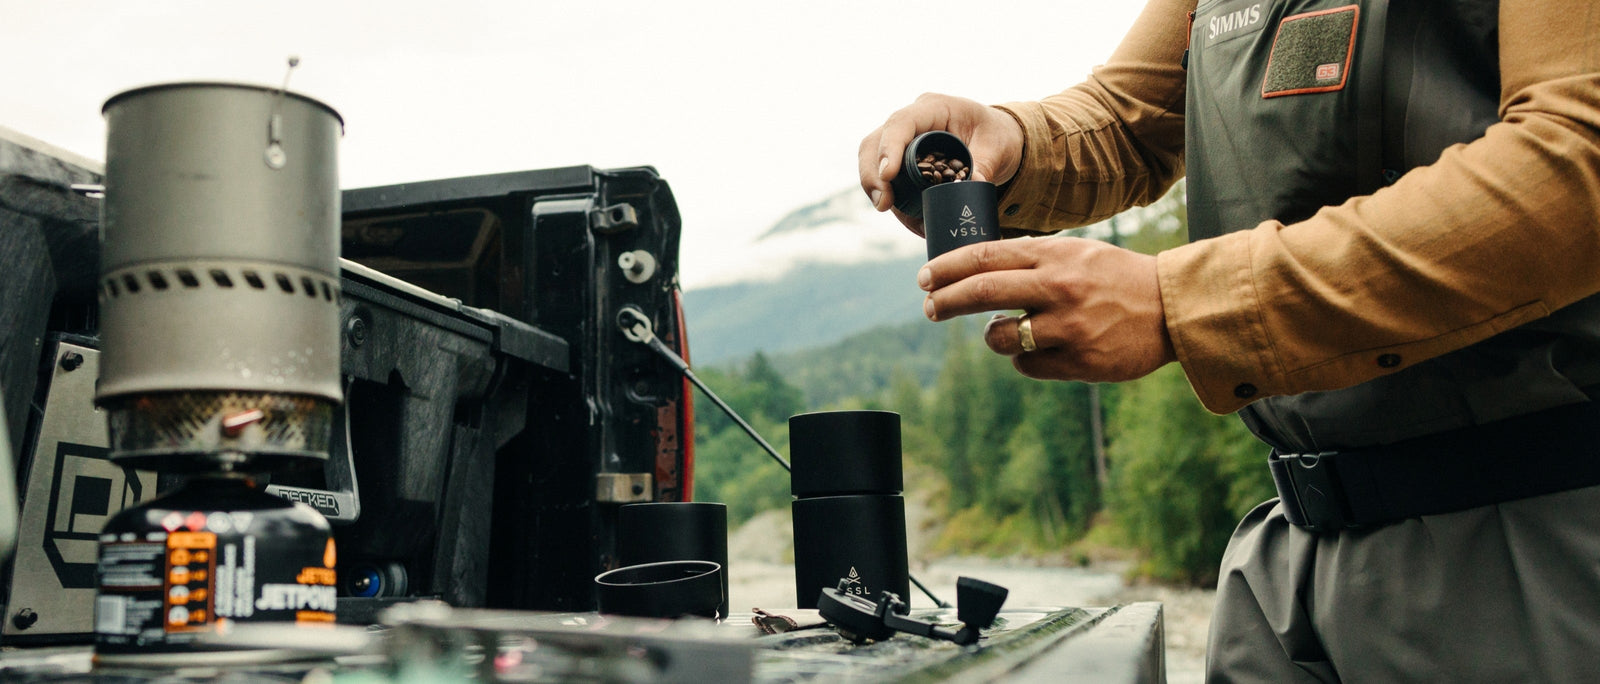
    A man in waders and a tan shirt loads whole coffee beans into a black VSSL hand grinder on a truck tailgate, with a camp stove, a dripper set and a forested riverbank behind him.

    13th November 2026 | Words by Matt Jones @ WildBounds HQ


    It’s never been easier to make great coffee at home. In fact, it’s never been easier to make great coffee anywhere, whether you’re in the office kitchen, a hotel room, on a campsite or miles off grid.

    Thanks to the development of a wide range of high-quality, packable coffeeware – from pocket-sized grinders to portable espresso makers to nesting pour-over kits – there’s no need to put up with a sub-par brew, even if you happen to be a long way from your kitchen (or a good coffee shop).

    If you love espresso, you’ll probably have already heard of Wacaco’s Minipresso, Nanopresso and Picopresso. These clever little hand-powered gadgets use a piston pump to create traditional espresso machine pressure, resulting in rich, strong shots with authentic crema. For even less effort, there’s also the much-loved AeroPress system, which has become a cult classic. Wacaco’s newer Prestina uses an integrated cup-driven press for minimal fuss.

    Until recently, however, pour-over fans didn’t have it so easy. Unlike these other methods, the kit needed for pour-over – grinder, scales, dripper, vessel – was bulky and fragile. Luckily, that’s changed. And this matters, because if you get it right, pour-over is one of the best ways to brew great-tasting coffee.

    A metal V60-style dripper sits on a glass carafe on a black Hario coffee scale, beside a stainless-steel gooseneck kettle on a stone-effect worktop in strong sunlight.

    Dripper, vessel, scales and a gooseneck kettle. This is the classic kitchen set-up. Add a paper filter full of freshly ground coffee and some hot water, and you’ve got all you need for great coffee. But with a few tweaks, you can create a similar setup in a more portable, go-anywhere format.


    Wait, what exactly is pour-over?

    Pour-over coffee, sometimes called filter coffee, is a gravity-driven brew method made by placing ground coffee into a filter, which sits in a funnel-shaped dripper. This is positioned over a vessel, such as a pot or cup. You then slowly pour hot water over the coffee, soaking the grounds. The hot water and coffee grounds come into contact, do their thing, and the water gradually works its way through the coffee bed and drips down into the vessel. Voilà – you’ve got coffee.

    Deceptively simple, pour-over coffee offers a lot of control in the final outcome of your cup. In terms of flavour profile, baristas love it for its brightness, complexity and ‘cleanness’, since you generally get a lighter coffee with virtually zero sediment. Using a paper filter also helps to soak up some of the stronger natural oils in the coffee, pulling back a lot of the more robust, forward flavours that can sometimes dominate a cup. The result is coffee that is typically not quite as bold or full-bodied as a cafetière or French press, characterised by a lighter colour and clean, fruity notes. It’s a method that particularly suits lighter roasts.

    Sounds good, right? If you’re at all serious about your coffee, it’s worth trying, especially if you prefer a lighter, cleaner brew than an espresso maker, AeroPress, cafetière or moka pot usually delivers. And if you think someone mentioning “grind settings”, “coffee ratios” or “brew time” makes them a pretentious hipster, we’re not saying you’re wrong, but you’re missing a trick by not jumping on this bandwagon. So, if you’re keen to step up your coffee game, here’s what you need and how to do it.

    Essential kit for the perfect pour-over

    Hands lift a hand grinder out of a felt-lined olive-green nesting mug on a truck tailgate, next to a second olive mug and dripper standing on a small scale.

    With the VSSL Nest Pour-Over Set or Pour-Over Kit, grinder, mugs and dripper all stow in one stack.


    Dripper

    Pour-over drippers are funnel-shaped, usually with a flat bottom so they sit easily on top of a pot or cup. Most are conical, often with internal ridges to help hold the filter in place and encourage regular, even water flow. Some have numerous, evenly dispersed exit holes, while others have a single larger hole or slot.

    The best pour-over drippers for home use tend to be made from glass, ceramic or porcelain – the classic options are a Hario V60, a Kalita or a Chemex. Their main drawbacks are their fragility, which makes them impractical for travelling or camping.

    Luckily, several brands have come to the rescue, producing portable drippers designed for hard use, often made from steel or aluminium. Examples include Japanese brand Snow Peak’s collapsible coffee dripper, which folds flat, or the six-piece Field Barista Dripper kit, which can be taken apart in seconds and stows in a neat travel case.

    Most impressively, dedicated coffeeware brand VSSL makes its Nest Pour-Over Dripper, built to work together intuitively with the Rift Tumbler. Both stash easily into your pack or bag, whether you’re commuting into the office or brewing up beside the tent. The Nest Pour-Over Set and Nest Pour-Over Kit takes things a step further, giving you the core elements in one convenient little package, enabling you to brew up solo or for two people respectively, mugs included.

    A hand holds a cone-shaped stainless-steel mesh filter with black stitched edges and a VSSL logo above a black insulated mug with a metal dripper inside.

    A reusable mesh filter: no paper, no waste, nothing to restock.


    Filter

    A filter holds the ground coffee in place and helps to capture impurities. Unlike the circular filters used for AeroPress, pour-over dripper filters are usually conical in shape. They come in disposable form, which are usually made from paper, or reusable types, which are made from fabric or mesh. This makes clean-up much easier compared to a cafetière.

    VSSL makes a fine stainless-steel mesh filter for its drippers and kits; otherwise, paper filters are cheap and widely available. Many baristas prefer those made from natural unbleached paper to the white bleached filters on the market.

    A man in a green flannel shirt holds a black VSSL dripper above a matching black insulated mug, with forest and hillside behind him.

    Dripper, meet mug. Two parts, no glass, nothing to snap.


    Vessel

    This is just a fancy barista name for a coffee pot, mug or anything that catches the coffee coming out of the dripper. Ideally, it should be sized so that your dripper sits neatly on top.

    For maximum convenience when travelling or camping, use a robust pot or mug made from stainless-steel, aluminium or titanium. A double-wall, vacuum insulated design will keep your brew hotter for longer, and dedicated kits or sets like those from VSSL highlighted above are designed to work seamlessly with the matching dripper.

    Kettle

    The key to great pour-over is controlling the flow of hot water onto the coffee bed – you want a measured, precise pour to evenly soak the coffee grounds, not a splashy mess.

    Pro baristas use a gooseneck kettle with a long, skinny spout. This allows you to pour very slowly and precisely. Unfortunately, gooseneck kettles aren’t cheap, and they’re not the most portable or robust bits of kit either, which generally rules them out for making pour-over when you’re travelling or camping.

    However, all you really need is a kettle with a decent spout – and luckily, there are plenty of those on the market, including camp kettles that you can take pretty much anywhere. Good examples include MSR’s Titan, the Sea to Summit Detour, the Primus CampFire or LiTech Kettle, GSI’s Halulite Kettle and Snow Peak’s Field Barista, standard Kettle or Kettle No. 1.

    Close-up of hands cranking a black VSSL hand grinder with a folding handle, held upright in front of a mustard-yellow fleece.

    A manual grinder needs no power and gives you freshly ground beans anywhere. Free arm workout included.


    Grinder

    Although you can buy pre-ground coffee, to get the best pour-over, you should be grinding your own beans. That’s because coffee beans start to lose their flavour soon after roasting, and the process is accelerated further when the beans are ground. Unless vacuum-sealed and/or nitrogen-flushed, ground coffee typically goes stale within a week. As well as ensuring superior flavour, beans that are freshly ground to the right grind size for pour-over allow the hot water to pass through the coffee bed at the optimal flow rate, delivering a cleaner cup.

    Aside from making pour-over, owning a good grinder is generally a decent investment for any coffee nerd. It allows you to purchase whole beans from your local roastery and grind them to suit any brew method, such as a stovetop Moka pot or French press (cafetière), since you can adjust your grind settings to suit each style.

    The good news? Portable manual grinders are now relatively inexpensive. For pour-over, a grinder with several adjustment settings is crucial, so you can tweak the grind to suit your preferences. In terms of coarseness, you generally want to be somewhere in the middle – not quite as fine as espresso, not quite as coarse as cafetière ground coffee.

    Our pick is VSSL’s excellent Java G25 and G45 grinders, with differing capacities depending on whether you’re brewing for one or two people. Other options include Wacaco’s Exagrind and Snow Peak’s Field Barista Grinder.

    Coffee scales

    Precision coffee scales are an incredible tool. They are super helpful for troubleshooting what’s going on with your pour-over. Most importantly, a scale will tell you exactly how much coffee you’re using (down to 0.1g) and how much water you’re brewing with. This is vital, as the ratio of water to coffee is really important in making pour-over. As you hone your technique and get better results, ensuring repeatable consistency is the key to getting a great cup, every time.

    In a pinch, standard kitchen scales are okay, but most are probably accurate to within 5g, which is pretty poor compared to the 0.1g accuracy of proper coffee scales. Most modern coffee scales have an in-built timer too, which allows you to track your pour times. VSSL’s Nomadic coffee scale offers a good entry point into pour-over, while Wacaco’s even smaller and more sophisticated Exagram Pro steps things up a notch.

    Overhead view of whole roasted coffee beans filling a small steel canister, on a warm, sandy-coloured rock surface, with a second container of ground coffee just visible at the top right.

    Buy whole bean and grind as you go. Fresher beans = a brighter cup.


    Coffee

    Obvious. Really, the choice is yours – single-origin or a blend, natural or washed – but in general, lighter roasts and fruity flavour profiles are better suited to pour-over rather than anything too dark. As we said up top, buying whole beans will allow you to grind as needed, giving you a fresher, brighter cup, but if you must buy pre-ground, then go for medium ground rather than fine or espresso ground.

    How much? The key is your coffee-to-water ratio. A good starting point for pour-over is 16:1, or 22g of medium-ground coffee to 350g of water. Hopefully, you’re already seeing how important that set of coffee scales is. Of course, this is very much personal taste – if you try the 16:1 ratio and think, “hmm, this could be a bit stronger”, use a little bit more coffee. Similarly, if you think the opposite, dial it back and use less.

    The step-by-step guide to perfect pour-over

    A man in a navy fleece cranks a VSSL hand grinder beside a table set with a black dripper and mug, a stainless kettle with a long curved spout and a lantern, with a camper truck behind.

    For best results, grind just before you brew, ideally with a view.


    1. Grind your coffee. If you can, only grind right before you brew. As a rule of thumb for starting out, you’ll need a 16:1 ratio, or 22g of medium-ground coffee to make around 300ml.

    2. Boil your water. If we’re being super finicky, leave the water to cool fractionally to 205°F or 96°C for a medium roast. To extract maximum flavour from a lighter roast, pour straight from the kettle as soon as it reaches boiling point (212°F or 100°C).

    3. Position and pre-wet your filter. Ensure the filter is sitting right down into the dripper, flush with the bottom. Then pre-wet it with hot water, which removes any particles or impurities from the filter itself, so it doesn’t end up in your coffee. This also serves to warm your dripper and vessel. Swill the hot water around and then empty your vessel.

    4. Prepare the coffee bed. Weigh out 22g of ground coffee and spoon it into the filter. Hold the dripper and gently shake it from side to side or tap the edges to level out your bed of grounds. You want the surface to be flat to ensure even extraction and avoid channelling (this is when water flows through part of the coffee bed too quickly, without coming into prolonged contact with the coffee itself). 

    5. Place the pour-over setup on your coffee scale. For maximum precision, it’s best to actually make your pour-over on the scale itself, so that you can track your output in real time. Place the whole setup (coffee, filter, dripper and vessel) on the scales. Tare out the scale so everything reads zero, then start the timer.

    Water from a stainless-steel gooseneck kettle pours onto a bed of ground coffee in a black VSSL dripper, with a bag of whole beans and a second mug on the table.

    Start with a gentle, steady stream and wet every last ground.


    6. Start to pour. Carefully begin the process, pouring a stream of hot water from your kettle into the dripper. The first pour is very important, since it creates the bloom. This allows the first set of gases in the ground coffee to activate and release, a key part of the final flavour in the cup. At this stage, aim for approximately twice the weight of water to ground coffee – so, if you used 22g of coffee, pour until the scales read 44g. Make sure that all of the grounds are soaked evenly, with nothing floating around. Try to pour in concentric circles, much like a snail shell. Keep the stream of water from your kettle moving constantly, but don’t flood the coffee bed.  

    7. Let the coffee bloom. Stop pouring and let the coffee sit between 30 and 40 seconds, measuring this on the in-built timer of your coffee scales.

    Overhead view of a thin stream of water from a black gooseneck kettle falling onto a foaming, swirling coffee bloom in a black VSSL dripper standing on a small white scale.

    That foam is the bloom: gases escaping from freshly ground coffee. The fresher the beans, the bigger the show.


    8. Secondary pours. Just as you start to see the water disappear, start the second pour, again moving the spout of the kettle in even, concentric circles. This time, aim to pour up to 150g in about 10 seconds. Wait again for the water to disappear, then go for another pour, up to 250g in about 10 seconds. Repeat to get to 350g. Pour from a consistent height, without moving the kettle up and down. After the last pour, wait for all the coffee to drip down into the vessel. 

    9. Drink and enjoy. That’s it – sit back with your favourite mug and savour the (hopefully) perfect pour-over. If you’re used to drinking espresso, you’ll probably notice lighter, brighter, fruitier notes; if you usually use a French press or moka pot, you’ll notice that pour-over typically delivers a much cleaner cup, with less sediment and bitterness. Doesn’t taste quite right? It’s all about refinement. See below for some troubleshooting tips.

    Troubleshooting

    “My coffee tastes weak or watery.”

    If your coffee lacks body, try agitating the dripper by swirling it between pours. Alternatively, adjust your grind size a little finer. This will slow the water flow through the coffee bed and pull out a little more flavour. The other options are to use a little bit more coffee to start with, or to increase the water temperature, but in the first instance, try one of those initial steps. Whatever you do, never change more than one variable at a time.

    “My coffee is too bitter.”

    If your brew tastes bitter or your coffee bed is visibly drying out at the end of the pour stages, you might be over-extracting, i.e. pulling too much out of the coffee. In this case, dial back your grind setting a little bit, making it 1 or 2 steps coarser. This will help the water flow down through the dripper more quickly. Alternatively, try using a little less coffee or, as a last resort if none of that seems to help, reduce the temperature of your water slightly.

    “My pour-over takes ages, or flows through the dripper too fast.”

    If you’ve got your preparation and pouring sorted, but are still struggling with timing, then the problem is usually with grind size. Too fine, and your pour-over will be too slow; too coarse, and it’ll be too fast. This usually affects the final flavour of your cup as described above – either weak and watery or overly bitter.

    A good target is that making 300ml of pour-over coffee should typically take 2.5 to 3.5 minutes from start to finish. Follow this timeline:

    • 0:00–0:45 (The Bloom): Pour twice the weight of hot water to ground coffee in order to wet the grounds. Wait roughly 30-40 seconds to allow the coffee to release trapped gases (carbon dioxide).
    • 0:45–2:30 (The Pours & Drawdown): Carefully pour the remaining water in steady, concentric circles up to 350g, allowing the water to drain evenly through the filter each time.
    • 2:30–3:30 (Drip): All the water should finish dripping through the dripper around the 2.5 to 3.5-minute mark. You should end up with about 300ml of coffee (remember that approx. 40-45ml of water will be soaked up by the saturated coffee grounds).

    Also in Camp Notes

    Man bivvying in the snow with a mountain panorama
    A Guide to Winter Bivvying: How to Conquer the Cold

    When it comes to spending a night in the great outdoors, bivvying in winter is the ultimate challenge. Here’s how to conquer the cold and enjoy a memorable night in the elements.

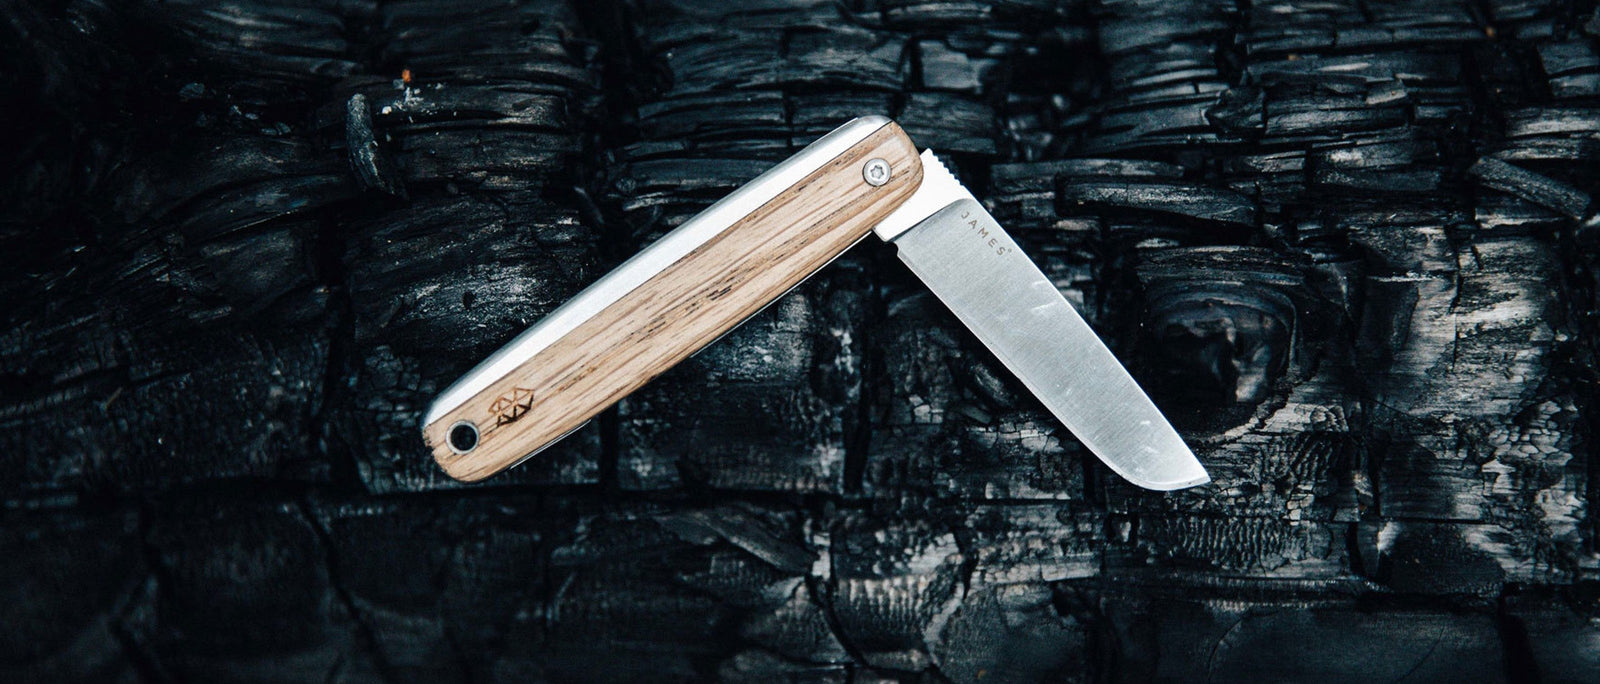
    Wooden-handled folding pocket knife by The James Brand with a straight blade, partly open on a charred log.
    Picking the Perfect Pocket Knife

    Not sure which pocket knife to carry? We cut through common blade shapes, types of steels, different locking styles and UK legalities to help you choose the right folding knife for camping and hiking.

    Five Reasons Why a Bivvy is Better Than a Tent | Camp Notes | WildBounds UK
    Five Reasons Why a Bivvy is Better Than a Tent

    When it comes to sleeping outdoors, most wild campers go for a tent. But we reckon the finest way to spend a night in the hills is nestled in a bivvy bag. To prove the point, here are five reasons why bivvying beats sleeping under canvas.